


Is your stairlift not working? There are many reasons why your stairlift may not be working, and it doesn’t necessarily mean that your device is broken. Sometimes, a simple stairlift reset can prompt it to start working again. To learn more about why your stairlift might not be working, how to fix it, and error codes to be aware of, continue reading.
Simple Stairlift Checks
If your stairlift is not working, don’t panic. In most cases, a faulty stairlift can be easily fixed or may not need to be fixed at all. Follow our list of simple stairlift checks to fix your stairlift when it’s not working.
Step 1: Check the ‘On’ Switch
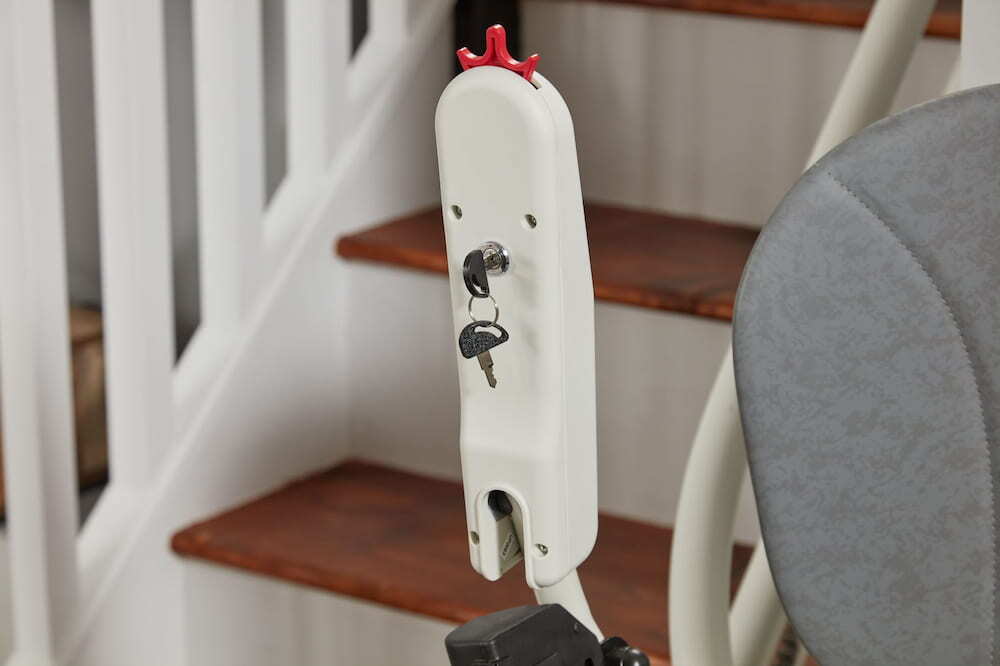
Check that your stairlift has been switched on properly and that your key is fully inserted in the ‘on’ position. In some cases, the on switch can accidentally turn off without you realising. It’s easy to forget to turn your stairlift back on after using it so much.
Step 2: Monitor Battery Power
Check the battery life on your stairlift. If your stairlift has been unplugged for a long time and has relied on the battery to operate, then it’s likely drained and run out. If your battery won’t charge up at all, it may be that it’s run out completely, meaning it’ll need to be replaced.
Step 3: Check Charging Point
Check if your main charging point has a power source coming from it, and that all the contact points are clean. If your socket isn’t working, then no electricity will be charging your stairlift battery. Make sure the battery is placed correctly to ensure sufficient power, too.
Step 4: Clear Obstructions
Check for any obstructions that would prevent your stairlift from moving. Stairlifts have sensors to detect obstructions before moving. If your stairlift isn’t moving, it may be down to something as simple as removing objects close by or in the way.
Step 5: Clean Your Track
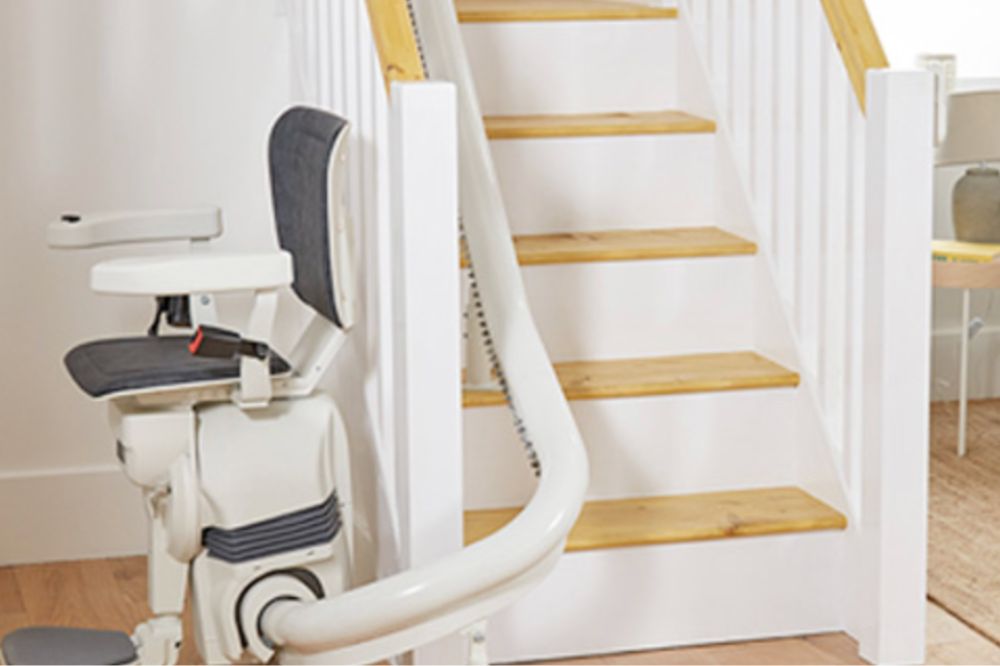
Similar to how obstructions can cause your stairlift to stop working, so can dust and debris. Looking after your stairlift and its surroundings is key. By cleaning dirt or blockages from your stairlift track, you can ensure a safe and smooth ride with no disturbances. Cloth or paper towels are best used to clean the track on your staircase.
Step 6: Fix the Seat Position
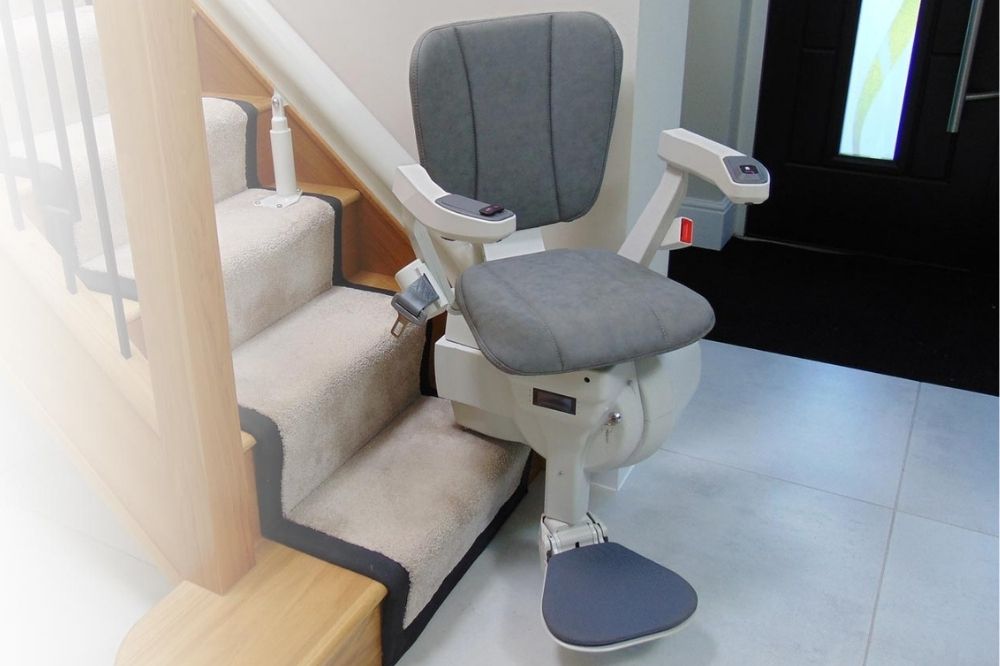
Check the swivel seat and levers on your stairlift, ensuring they’re all in the correct position. All stairlifts have a swivel seat for easy positioning, and if the seat isn’t in the right position or the armrests aren’t put down, it won’t work properly.
Step 7: Address Beeping
If you’re wondering how to stop a stairlift beeping, you’re not alone. Stairlifts tend to beep due to low battery levels. So, if you’ve checked that your main charging point is working and ensured battery levels on your stairlift are full, your stairlift should stop beeping.
Step 8: Refer to Your User Manual
Refer to your user manual if issues continue. When your stairlift is acting up or appears broken, your user manual will come in handy. It contains everything you need to know about your specific stairlift model, including information on error codes and troubleshooting steps.
Step 9: Reset Your Stairlift
We know what you might be thinking…where is the reset button on a stairlift? But don’t worry, we’re here to tell you in the next section of the blog. If you’ve tried everything to fix your stairlift, it may be time for a complete reset.
Resetting your stairlift is simple with the right instructions and could help resolve any potential issues or glitches to prompt your mobility device to start working again.
Step 10: Call the Experts
If you’ve completed all the steps above and nothing has worked, it may be time to call the experts. Many stairlift companies offer repairs as part of their services to help find and fix the issue that’s causing your stairlift not to work.
Where is the Reset Button on a Stairlift?
So, where is the reset button on a stairlift? The reset button is commonly found on or near the armrest, as shown further below, but may also be near the footrest, under the seat, or next to the power supply or ‘on’ button.
If you wish to reset your stairlift, you must:
- Refer to your user manual
- Locate the reset button
- Press down on the reset button for at least 30 seconds until it reboots
- Wait for it to fully power up
- Ensure the stairlift track is clear of dirt or obstructions
- Sit on your stairlift and put your safety belt on
- Test your stairlift
- Listen out for any unusual sounds or movements
Stairlift Brand Error Codes
There are many different stairlift brands on the market. However, it can be hard to understand what all the error codes mean if your stairlift isn’t working properly.
Let’s find out the main error codes for the most popular stairlift brands in the UK.
Stannah
- Code 3: It usually points to an obstruction on the track, whether that’s an object, pet hair, or a build-up of dust. Clear anything in the way of the stairlift and give the track a good clean to get it back up and running.
- Code 4: The red switch is likely turned off, or the key isn’t inserted properly. Locate the red switch on the armrest of your seat and press the ‘I’ symbol to turn the chair on. Then check that the key is inserted under your seat on the side of the carriage — if it’s missing, reinsert it and turn the stairlift on again.
- Code 5: Typically means there isn’t enough weight on the seat, or both armrests aren’t fully down before travelling. Sit properly on the stairlift with your back against the backrest and lower both armrests fully.
- Code 8 or H: This usually means the emergency switch (e-switch) has been accidentally pressed. Open the small window panel on the motor carriage, find the square-shaped e-switch inside, then press and release it to reset the stairlift.
- Code 1, 9, F, a flashing code, or no code at all: These faults can’t be diagnosed or fixed over the phone, so you’ll need to call a technician out to take a look in person.
Acorn
- Code A1: The lift is operating fine and is ready to use.
- Code A2: The lift is moving upward, controlled by the armrest paddle.
- Code A5: The lift is moving downward as instructed by the remote control.
- Code E6: The swivel seat likely isn’t locked into place, which prevents it from operating.
- Code E9: The safety key switch is turned off, so you should check that the key is inserted and turned to the ‘on’ position.
- Beeping with no fault code: Nothing’s actually wrong, and it just means the lift isn’t fully docked at its charging point.
Brooks
Main codes for Brooks straight stairlifts:
- Code C7: The power supply voltage is too low, so check the power supply and connections.
- Code C8: The power supply voltage is too high, so check the power supply and connections.
- Code C9: There is a main battery fault, so you should call an engineer.
- Code E1: A safety edge on the footrest or underplate has been activated, so check for any obstructions and clear them.
- Code E2: A safety edge on the upper side of the footrest has been activated, so check for any obstructions and clear them.
- Code E4: A safety edge on the lower cover has been activated, so check for any obstructions and clear them.
- Code E5: A safety edge on the upper cover has been activated, so check for any obstructions and clear them.
- Code E6: The swivel seat is not locked into the correct travel position, so you should move the seat until it locks.
- Code E7: The battery level is too low to allow upward movement, so you should drive the lift to the charge point.
- Code E9: The safety key switch is turned off, so you should check that the key is inserted properly and turn it to the ‘on’ position.
- Codes F1, F2, F3, F5, F6, F7, H1, H2, H3, H4, H5, H6, H8, and H9: These indicate relay, brake, motor, limit, safety, hinge, processor, memory, heat‑sink, or PCB faults, so you should call an engineer and not attempt repairs yourself.
- Beeping with no fault code: Nothing is necessarily wrong, and it usually just means the lift isn’t fully docked at its charging point.
Main codes for Brooks curved stairlifts:
- Code 0: The final limit or safety line has been activated, so check the key, emergency stop, and for any over‑travel.
- Code 1: The lift likely needs charging, so ensure the power is switched on and the lift is parked on its charge point.
- Code 2: This means that the lift is off charge, so position it on the top or bottom charge contacts.
- Code 7: The battery level is either low or critical and must be positioned on the charging point. If it doesn’t improve, consider battery replacement.
- Code 3 or 5: A track limit switch has been activated at the top or bottom, so the lift has reached the end of its travel.
- Code 4 or 6: A safety edge has been activated, so you should check for any obstruction and clear it.
- Code A: The hinge is open, so you should check that the hinge is fully closed and call an engineer if the code stays on.
- Code J: There is a hinge locking error, and it’s best to call an engineer.
- Code P: The power swivel is not responding, so try holding the toggle up to turn the seat, and call an engineer if it persists.
- Code L: The motor is likely drawing too much current, so you should check for obstructions and ensure the weight limit isn’t exceeded.
- Codes D, E, F, N, O, R, U, and Y: These indicate relay, brake, motor, EPROM, power supply, or PCB faults. It’s best not to repair it yourself – call a trusted engineer.
Handicare
- Code dash: This is nothing to worry about and just means the stairlift is charging as normal.
- No display: Check that the red emergency stop button hasn’t been pressed, the key switch is turned to ‘on’, and the seat is fully turned into the drive position.
- Code 0: Press the toggle switch and see if the display comes back on, and check that the main power switch on the lift is turned on.
- Code 1 or 2: This means that the batteries need charging. Position your stairlift to its charging contacts and check that the ‘okay’ code appears.
- Code 8 or 9: There’s nothing to fix. This just shows briefly while you’re using the toggle switch to go up or down.
- Any other code: These point to a fault (such as a safety edge, limit switch, or electrical issue) that needs a technician to diagnose in person, so it’s best to call for support rather than attempt a fix yourself.
When to Consider Stairlift Repair Services
If you’ve tried everything in our guide to try to fix your stairlift and it still isn’t working, you may need to seek professional repair services.
It may be that your stairlift isn’t completely broken, but it could be helpful to have an expert visit your home to ensure it can be fixed properly. For many stairlift owners, trying to fix a stairlift alone isn’t possible. At Halton Stairlift, we have a team of DBS-checked engineers who offer quick and efficient repair services.
What to do if Your Stairlift Breaks Down
If your stairlift has been repaired and it still isn’t working, it may be completely broken. We understand how frustrating this can be, especially if you rely on your stairlift to aid your mobility issues.
However, there are plenty of options available to suit both your needs and budget if you have to buy a new stairlift.
- Rental Stairlifts: Finding the right stairlift takes time. If your stairlift has stopped working and you require short-term mobility assistance, stairlift rentals are a great option while you decide on a permanent solution.
- Reconditioned Stairlifts: Reused stairlifts are just as good as new. If you’re on a budget and require a permanent stairlift installation after your previous device has broken, reconditioned models may be worth considering. They’re cost-effective, environmentally friendly and undergo thorough testing to ensure high safety standards are met.
- New Stairlifts: Whether you’ve owned multiple stairlifts or now feel the right time to treat yourself to a brand new model, you may benefit from a new stairlift. New stairlifts are durable and long-lasting, allowing you to be extra specific when it comes to key features or upholstery preferences.
How Halton Stairlifts Can Help
Is your stairlift not working? If so, we can help. At Halton Stairlifts, we offer a wide range of services, including trusted stairlift repairs across our models.
If your stairlift isn’t working, it might not be broken – it may just need repairs. When you buy a new or reconditioned stairlift from us, it comes with a standard 12-month warranty. You’ll also have the benefit of using our 24-hour emergency call-out service that covers you for parts and labour. We can also help repair your stairlift if you’re outside your warranty period by simply charging for any parts or repairs you require.
To learn more about our stairlift repairs, contact our friendly team today.

Neil is the founder of Halton Stairlifts. He has years of experience installing stairlifts across the UK. With an eagerness to help those with mobility issues get up the stairs, Neil understands how important it is for a seamless and straightforward approach to installing stairlifts to help those in need quickly.